Introduction to Diaper Changing Essentials
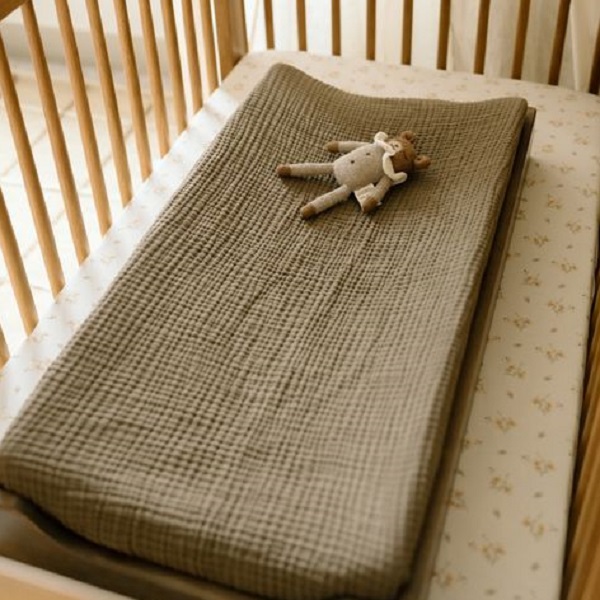
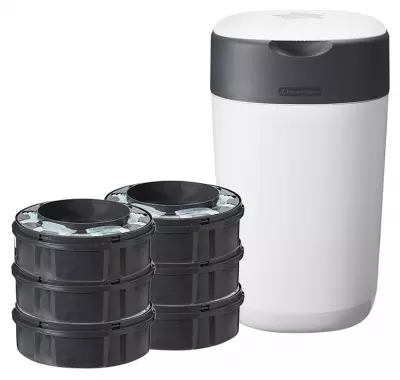
Caring for a baby involves frequent diaper changes. It’s important to understand the essentials of this routine task. Before diving into the step-by-step process, let’s discuss the key items you need for a smooth diaper changing experience. These include a secure changing table or pad, a stockpile of diapers, gentle baby wipes, and rash-preventing diaper cream. A diaper pail or disposal method is also crucial to maintain hygiene. Diaper changing is not only about the right materials, but also about the right technique. Keep supplies within arm’s reach to avoid leaving the baby unattended. Refer to our subsequent steps for a comprehensive guide. With these basics on hand, you’ll be prepared for efficient, stress-free diaper changes. How to change baby diaper?
Step-by-Step Diaper Changing Guide
Step 1: Preparation and Safety
How to change baby diaper? Before changing, gather all supplies close by. Use a safe, secure spot for changing and never leave the baby alone during the process.
Step 2: Removal of the Used Diaper
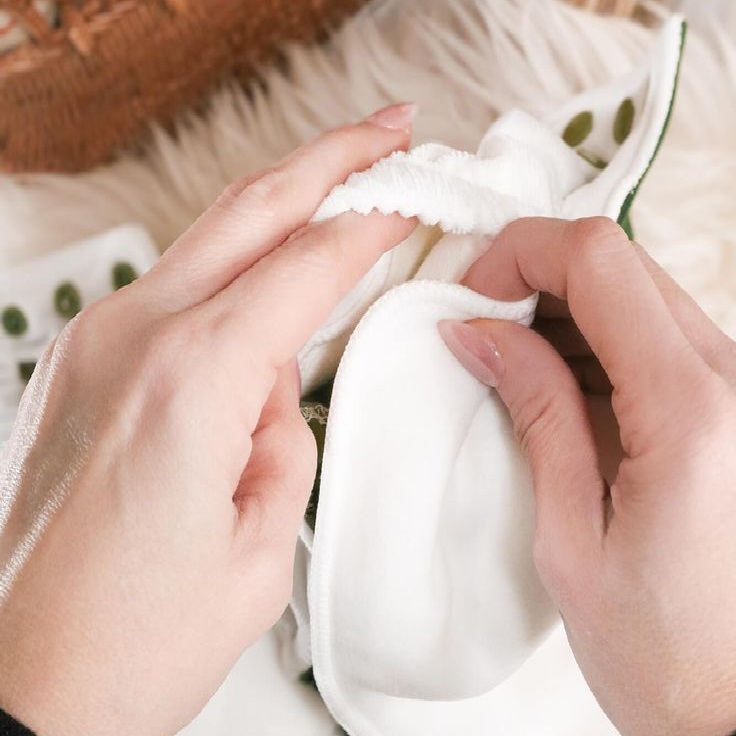
Lay the baby back, gently lift their legs, and slide out the soiled diaper. Seal and dispose of it properly.
Step 3: Cleaning the Baby
Wipe the baby’s bottom front to back. For boys, cover the penis to avoid a spray. Be sure to clean all creases.
Step 4: Applying Diaper Cream
If there’s a rash, or to prevent one, dab on some diaper cream. Only use as much as needed.
Step 5: Placing the New Diaper
Place the baby’s legs back down and slide a fresh diaper under them. The tabs should be on the bottom, ready to fasten.
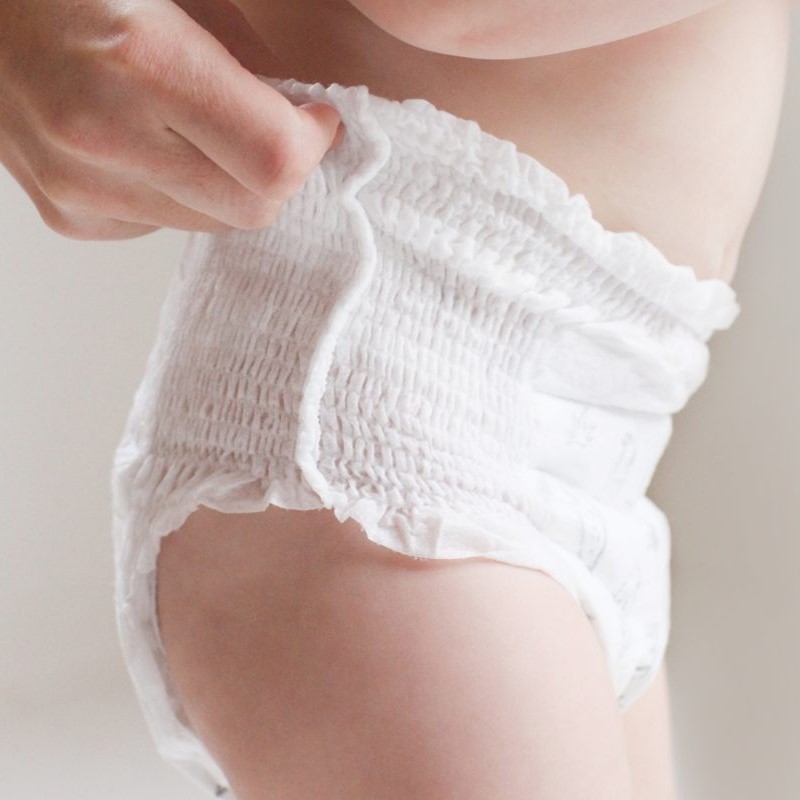
Step 6: Fastening and Adjusting the Diaper
Secure the diaper snugly but not too tight. You should be able to fit two fingers between the diaper and baby’s stomach.
Tips for Changing a Boy’s Diaper
When changing a boy’s diaper, there are a few tips to keep in mind:
- Cover Up: Boys might urinate when exposed to air. Use a wipe or cloth to cover the penis during the change.
- Direction Matters: Before fastening the diaper, gently point the penis downward. This helps prevent leaks from the top of the diaper.
- Fasten Securely: Adjust the diaper snugly around the waist. Ensure the leg cuffs are out to avoid side leaks.
- Be Prepared: Keep extra cloths and diapers within reach. Sometimes you may need a quick switch if he pees again.
- Check for Redness: Look for any signs of irritation, particularly around the diaper’s edges. Apply a barrier cream if necessary.
By following these tips, you’ll help prevent leaks and keep your baby boy comfortable and dry.
Tips for Changing a Girl’s Diaper
For your little princess, the diaper changing process needs a bit of extra care. When it comes to girls, the right technique can help prevent uncomfortable infections. Here are some quick tips to ensure a clean and happy experience:
- Wipe Correctly: Always wipe from front to back to reduce the risk of urinary tract infections.
- Clean Gently: Be gentle but thorough, making sure to clean all skin folds.
- Fasten Properly: Fasten the diaper not too tightly, and check that the leg cuffs are out to prevent leaks.
- Mind the Position: Before sealing the diaper, make sure it sits well below the navel, especially if her umbilical cord stump is still present.
- Bring Extras: Have extra supplies close by, such as clean diapers and wipes, for a possible quick change.
- Check Fits: Regularly check the diaper’s fit to make sure it’s not too snug around the waist or thighs.
With these steps, changing your baby girl’s diaper can be quick, efficient, and safe. Stay vigilant for any signs of redness or rash and consult with a healthcare provider if you have concerns.

How to Handle Poopy Diapers
Handling poopy diapers can be daunting but is part of the diaper-changing routine. Here’s what you need to know to deal with poopy diapers efficiently:
- Immediate Change: Don’t let the poopy diaper sit on your baby’s skin for too long. It may cause rashes or infections.
- Adequate Supplies: Before starting the change, ensure wipes, a fresh diaper, and a place to dispose of the soiled diaper are within reach.
- Proper Wiping: Use gentle wipes, cleaning the baby’s bottom from front to back. Have plenty on hand to remove all poop.
- Skin Protection: After cleaning, pat the baby’s skin dry and apply a generous amount of diaper cream to prevent irritation.
- Seal Soiled Diapers: Wrap up the poopy diaper to contain the mess and odors before disposing of it.
- Hand Hygiene: Always wash your hands after handling a poopy diaper to prevent the spread of germs.
- Fresh Diaper: Position the new diaper correctly and fasten securely, ensuring it’s comfortable for your baby.
By being prepared and following these steps, you can handle poopy diapers quickly and keep your baby clean and happy.
Changing Diapers for Newborns and the Umbilical Cord Care
How to change baby diaper? Newborns need gentle care, especially when it comes to diaper changes and umbilical cord maintenance. Here’s a step-by-step guide to help you:
- Gather Supplies: Before starting, make sure you have all essentials at hand. This includes diapers, wipes, and a soft cloth for the umbilical cord.
- Clean Gently: Wipe your newborn’s bottom with care. If the umbilical cord stump is present, avoid getting it wet.
- Umbilical Cord Care: Keep the area around the stump clean and dry. Use a cotton ball or cloth to dab gently if it’s soiled.
- Diaper Positioning: Fold the diaper below the umbilical stump to prevent irritation. This allows the stump to air out and heal.
- Fasten Diaper: Secure the diaper loosely to not press on the umbilical area. Check that you can fit two fingers in the waistband.
- Monitor Stump: Look for signs of infection like redness or odor. If you notice these, contact your healthcare provider.
By adhering to these guidelines, you can ensure your newborn’s comfort and promote safe healing of the umbilical cord stump. Proper care during this initial stage sets the foundation for healthy development.
Diaper Changing for Active Toddlers
When it comes to active toddlers, diaper changing can seem like a sport. As they become more mobile and curious, keeping them still for a diaper change is a true test of parent agility. But equipped with the right approach, you can make this task quick and tear-free. Here are easy-to-follow steps for diaper changing on the move:
- Create Distractions: Use toys or sing songs to keep your toddler engaged. Distractions help them stay put!
- Skip the Table: Change diapers on the floor using a portable mat. This is safer and easier with wriggly toddlers.
- Speed is Key: Be quick and efficient to minimize the time your toddler needs to stay still.
- Communicate: Explain what you’re doing as you go. This prepares them for the process and makes them less likely to wiggle away.
- Practice Standing Changes: If your toddler refuses to lie down, try changing their diaper while they stand.
- Stay Prepared: Keep a diaper changing kit handy in different areas of your home for easy access.
- Positive Reinforcement: Give praise or a small reward after a successful diaper change to encourage cooperation next time.
These tips should help transform diaper changing from a challenge into an achievable, albeit speedy, task—even when dealing with the most active toddlers.
Signs Your Baby Needs a Bigger Diaper
How to change baby diaper? As your baby grows, their diaper size will change. Look for these signs to know when it’s time for a bigger diaper:
- Tape Position: If the tapes don’t land near the center when fastened, it’s a clue.
- Fit Test: You should be able to fit two fingers under the diaper’s waistband comfortably.
- Red Marks: Marks on your baby’s skin indicate the diaper is too tight.
- Coverage: The diaper should fully cover your baby’s bottom.
- Comfort: If your baby seems unhappy and tugs at the diaper, consider sizing up.
- Leaks: Frequent leaks or blowouts may mean the current size can’t hold the output.
Using the right-sized diaper is vital for your baby’s comfort and to avoid leaks. If you spot these signs, it’s time to switch to a larger size. Always check the fit after fastening to ensure it’s just right.