Preparing for a Diaper Change
How to change a baby diaper? Before starting a diaper change, preparation is key. Ensure you have all items within reach to keep your baby safe and avoid leaving them unattended. Here’s how you get ready.
Gathering Your Supplies
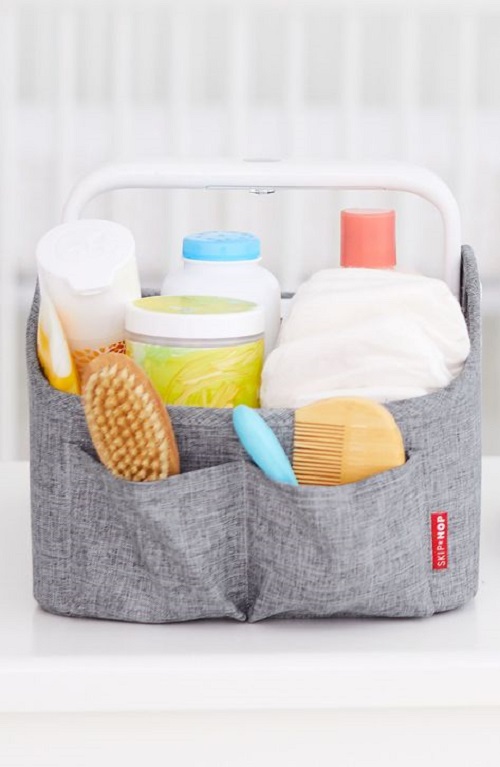
First, collect all the essential items:
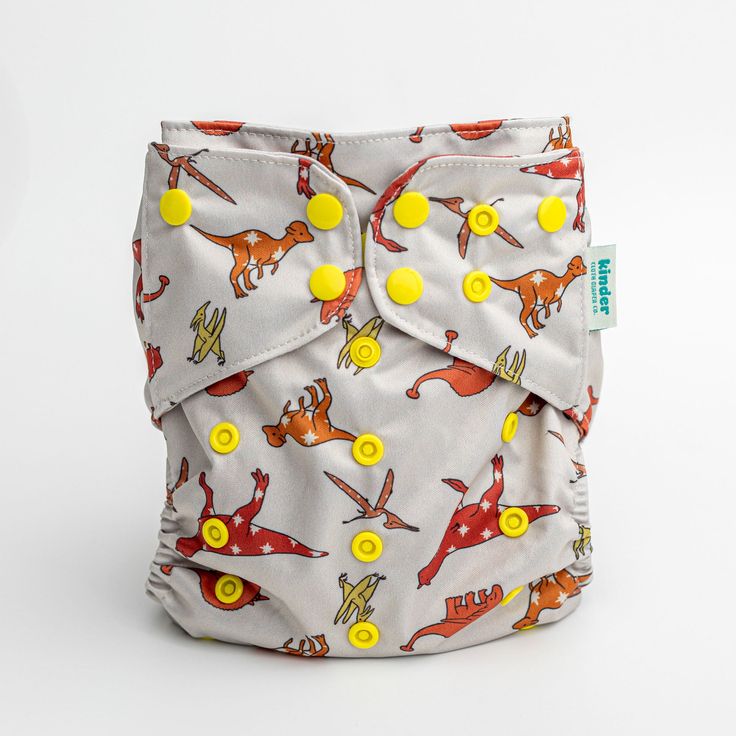
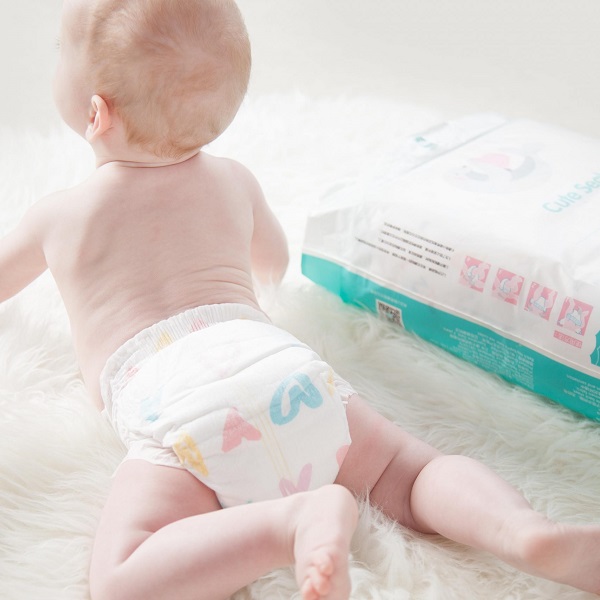
- Clean diapers: Have a stack ready, including a larger size as your baby grows.
- Wipes or washcloths: For cleaning your baby’s bottom.
- Diaper rash cream: Use if your baby has signs of diaper rash.
- Disposable bags: For soiled diapers, especially when out.
- Changing pad or towel: Protects the changing surface from messes.
Have these supplies on hand to avoid mid-change scrambles, ensuring a smooth diapering process.
Setting Up the Changing Area
Choose a safe, flat surface. A changing table works well but is not necessary. A floor with a mat or towel works too. If using a raised surface, never step away or turn your back. Keep your baby secure and comfortable throughout the change. Clean the area after each use to maintain hygiene.
Performing the Diaper Change
How to change a baby diaper? Changing a baby’s diaper can feel daunting, but following a systematic approach can make it easier and safer for both you and the baby. Here is a simple, step-by-step method to ensure a successful diaper change every time.
Step 1: Remove the Dirty Diaper
Lay your baby on their back on the changing area. Gently lift their legs and unfasten the dirty diaper. Use the front half of the diaper to wipe away bulk of the mess, then fold it under the baby’s bottom. Be ready to shield yourself from unexpected sprays, especially with boys.
Step 2: Clean the Baby’s Bottom
Using wipes or a damp washcloth, clean your baby’s bottom from front to back. Be thorough but gentle, particularly in the creases, to remove all traces of waste. For a boy, do not forget to clean around the penis and testicles. For a girl, always wipe from front to back to prevent infections.
Step 3: Apply Diaper Rash Cream if Necessary
If there are signs of diaper rash, apply a small amount of barrier cream or ointment. This helps heal the rash and protects the skin. Do not use too much; a thin layer will suffice.
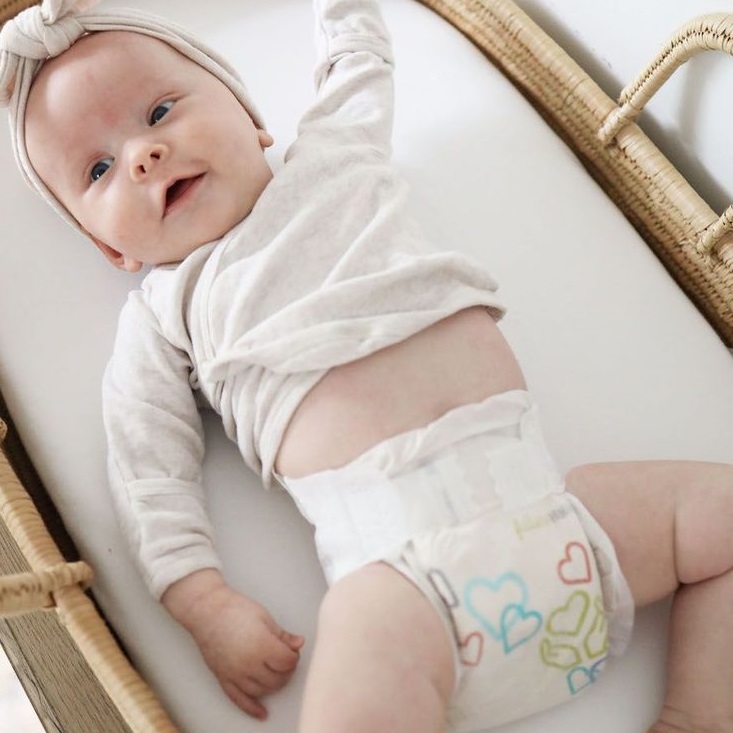
Step 4: Put on a Fresh Diaper
Lift your baby’s legs again and slide a clean diaper under them. Ensure the back part with tabs is underneath. Bring the front part of the diaper between the legs up to the baby’s stomach. Secure the diaper snugly with the tabs, making sure it’s neither too tight nor too loose by testing if two fingers fit between the diaper and your baby’s stomach. Finally, adjust the leg cuffs to help prevent leaks.
Tips for Changing a Boy’s Diaper
How to change a baby diaper? Dealing with a baby boy can come with a unique challenge: unexpected spraying during the diaper change. By preparing and using simple yet effective techniques, you can make changing your baby boy’s diaper a more manageable experience.
Covering to Prevent Spraying
To avoid being caught off guard, always keep a clean diaper or cloth handy to cover your baby boy’s penis as soon as you open the dirty diaper. This acts as a shield and keeps you and the surrounding area dry. Swiftly place the cover over him when you remove the dirty diaper.
Positioning the Penis to Prevent Leaks
After cleaning your baby’s bottom, ensure to gently point his penis downwards before securing the fresh diaper. This helps channel urine towards the absorbent core of the diaper, reducing the risk of leaks, especially at the waistband during naps or nighttime. Remember to recheck his position each time you put on a new diaper. Secure the diaper snugly, not too tight or too loose, to maintain comfort and efficiency in leak prevention.
Tips for Changing a Girl’s Diaper
When changing a baby girl’s diaper, take extra care to avoid infections.
Wiping Techniques to Reduce Infection Risk
- Wipe Front to Back: Always wipe from the front (near the peeing area) to the back (towards the bottom). This helps keep bacteria away from sensitive areas.
- Be Gentle: Use gentle, but thorough, strokes when wiping to avoid irritation.
- Use the Right Wipes: Choose wipes that are fragrance-free and alcohol-free to prevent reactions.
- Check for Folds: Make sure to clean in between the skin folds for complete cleanliness.
- Pat Dry: After wiping, pat the skin dry with a soft towel or let air dry for a moment before putting on a new diaper.
By following these wiping techniques, you help protect your baby girl from urinary tract infections and discomfort.
How to Dispose of Dirty Diapers Properly
Proper disposal of dirty diapers is crucial for hygiene and to reduce environmental impact. Here’s how to handle different types of diapers after a change.
Handling Cloth Diapers
Cloth diapers are reusable and need proper care after use.
- Remove Solids: Shake off solids into the toilet.
- Store: Keep used cloth diapers in a sealed container or wet bag until wash day.
- Wash: Launder them at 60C with a non-bio detergent. Avoid fabric softeners.
- Dry: Air-dry outside when possible for natural bleaching.
Always wash your hands thoroughly after handling used cloth diapers to prevent the spread of germs.
Managing Disposable Diapers
Disposable diapers are convenient but must be disposed of responsibly.
- Wrap It Up: Roll up the diaper tightly, using the sticky tabs to secure it.
- Seal in a Bag: Place the wrapped diaper in a scented diaper bag to contain smells.
- Trash Bin: Dispose of the sealed bag in an outside trash bin designed for diapers.
- Wash Hands: Always clean your hands after disposing of a diaper.
Remember to never flush disposable diapers as they can clog plumbing and cause environmental harm.
Avoid overfilling diaper bins to prevent odors and maintain cleanliness in the changing area.
Recognizing When It’s Time for a Diaper Change
Knowing when to change your baby’s diaper is a key part of childcare.
Using Wetness Indicators
Modern diapers often have wetness indicators. These lines or designs change color when wet. Check the diaper for a color change to know if it’s time for a change.
Checking for Signs of a Full Diaper
Even without indicators, signs can tell you it’s time. Diapers may sag, feel bulky, or you might smell odors. You might see your baby pee or make a poop face. You can also check the diaper by gently feeling it. If it’s damp, replace it. Watch for your baby’s cues like fussiness or discomfort too. They might signal a full diaper.
Troubleshooting Common Diapering Issues
Even when you follow all the steps for a proper diaper change, you may encounter some common issues that parents face. Here are tips to handle them efficiently.
Dealing with Leaks and Blowouts
Leaks and blowouts are common but fixable problems. If you notice frequent leaks:
- Check the diaper’s size and fit. It may be too big or too small.
- Ensure the diaper is snug around the waist and thighs without gaps.
- Point a baby boy’s penis down when you fasten the diaper to prevent upward leaks.
For blowouts, typically up the back:
- Opt for a higher-waisted diaper or a size up if your baby is nearing the weight limit.
- Change diapers promptly, especially after a heavy meal, to avoid overflow.
- Secure the diaper tabs evenly on both sides for a balanced fit.
Remember, proper fitting and timely changes are your best defense against leaks and blowouts.
Recognizing the Need for a Larger Diaper Size
Babies grow quickly, and so does their diaper size. Look for these signs that it’s time to size up:
- Red marks on your baby’s skin from tight elastics.
- Difficulty connecting the diaper tabs at the baby’s waist.
- The diaper doesn’t cover your baby’s bottom completely.
- More frequent leaks or blowouts than before.
A properly sized diaper should cover your baby’s bottom fully and close comfortably around the waist and thighs. If you’re seeing signs that the diaper is too small, it’s likely time for the next size up. This change can greatly reduce the chance of leaks and keep your baby comfortable.
Ensuring Baby Hygiene and Comfort
Keeping your baby clean and comfortable involves more than just diaper changes.
Frequent Diaper Changes
How to change a baby diaper? Change diapers often to prevent rashes and discomfort. For newborns, aim for every two to three hours. Respond quickly to dirty diapers, especially those with poop, to avoid skin irritation. Nighttime might need fewer changes, but do not let a baby stay in a wet diaper for too long. Regular changes mean less risk of diaper rashes and happier babies. Monitor for signs of discomfort, which might suggest it’s time for a change.
Adjusting Diaper Fit for Comfort
Ensure a proper fit to keep your baby comfortable. Check that diapers are neither too loose nor too tight. Follow the two-finger rule; if you can’t fit two fingers under the waistband, the diaper is too tight. A snug fit prevents leaks and blowouts but should not leave marks on the baby’s skin. Watch how the diaper sits when your baby moves. Keep the tapes symmetrical for even pressure. Turn the leg cuffs outwards to prevent chafing and leaks. As they grow, be ready to size up for continued comfort and protection.