Choosing cloth diapers for your little one is a wonderful step towards a more sustainable and gentle diapering experience. However, fitted diapers, with their unique design and multiple components, can initially seem a bit daunting for new parents. But fear not! With a bit of practice and the right guidance, putting on a fitted diaper becomes a simple and seamless part of your routine. Let’s explore the process step-by-step, ensuring a comfortable and secure fit for your baby.
Understanding Fitted Diapers: The Basics
Before we dive into the how-to, let’s briefly understand what fitted diapers are and how they differ from other cloth diaper styles.
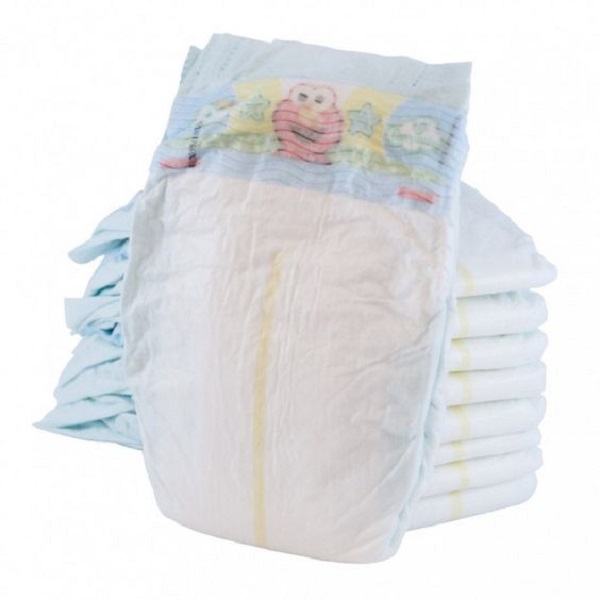
- Absorbent Core: Fitted diapers are made entirely of absorbent material, usually cotton, bamboo, or hemp, providing a soft and comfortable layer against your baby’s skin.
- Contoured Shape: They are contoured to fit snugly around your baby’s waist and legs, minimizing the risk of leaks.
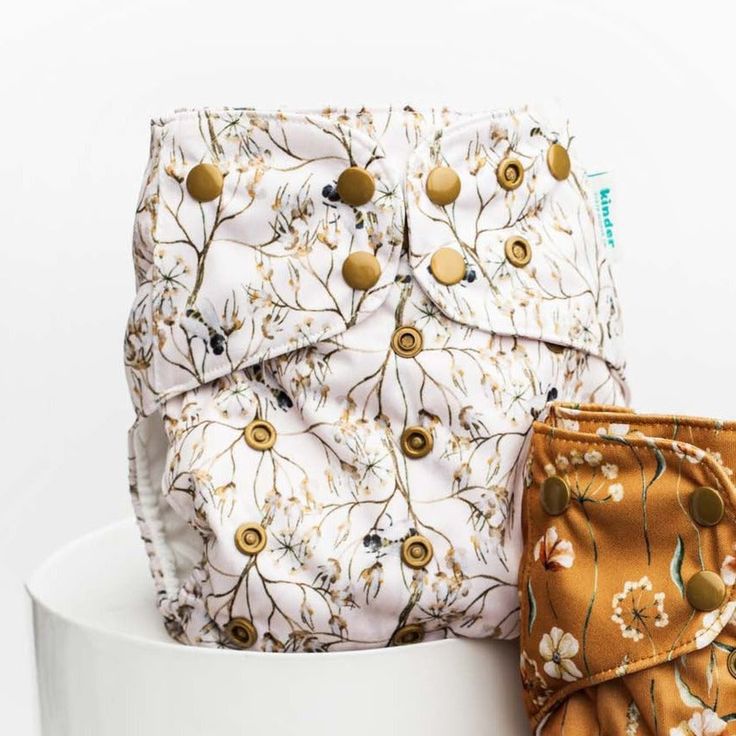
- Snaps or Velcro: Fitted diapers typically fasten with snaps or Velcro, allowing for easy adjustments and a secure fit.
- Require a Cover: Because they’re not waterproof on their own, fitted diapers require a waterproof cover to prevent leaks.
Step-by-Step Guide: Putting on a Fitted Diaper
Now, let’s walk through the process of putting on a fitted diaper, ensuring a comfortable and leak-free experience for your little one.
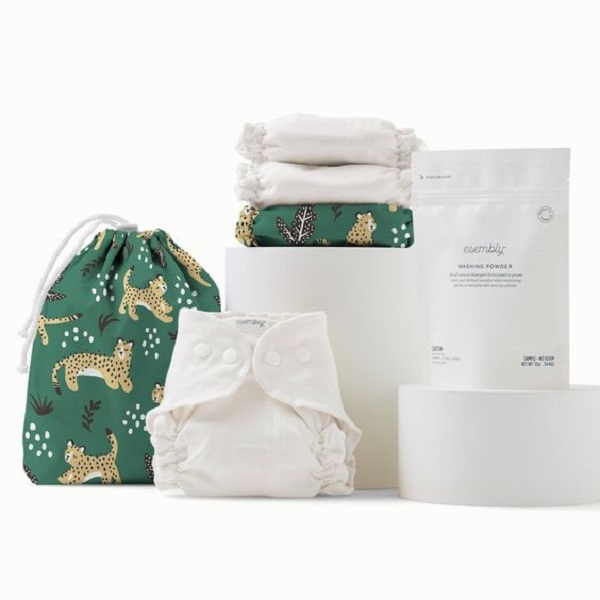
Gather Your Supplies:
-
- A clean fitted diaper
- A waterproof diaper cover
- Wipes (for cleanup if needed)
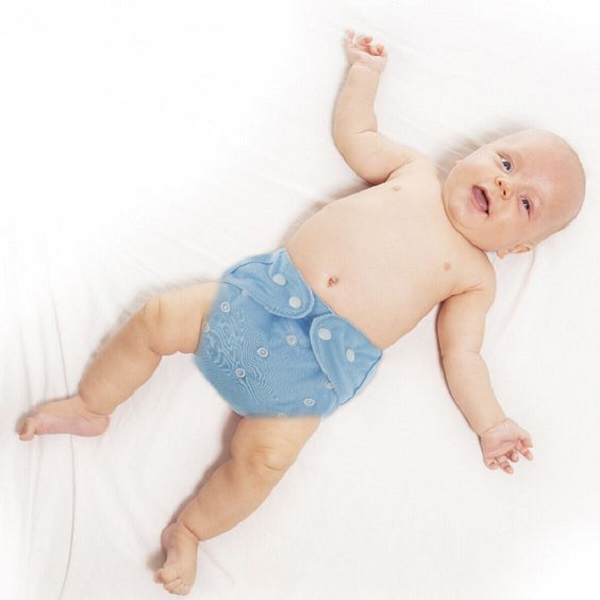
Lay Your Baby Down: Place your baby on a flat, safe surface like a changing table or the floor.
Position the Diaper: Slide the fitted diaper under your baby, ensuring the back of the diaper is aligned with their waistline. Use your baby’s belly button as a guide for proper placement.
Bring the Front Up: Gently bring the front of the diaper up between your baby’s legs.
Secure the Fasteners: Fasten the snaps or Velcro tabs on the diaper, ensuring a snug but comfortable fit around the waist and legs.
Check for Gaps: Check for any gaps around the legs or waist. The diaper should fit snugly against the skin to prevent leaks.
Add a Diaper Cover: Place the waterproof diaper cover over the fitted diaper, ensuring it completely covers the absorbent material.
Adjust and Secure: Adjust the cover’s leg gussets and waistband for a snug fit. Secure the cover’s fasteners (snaps or Velcro) to complete the diapering process.
Tips and Tricks: Ensuring a Comfortable and Leak-Free Fit
Achieving a perfect fit with a fitted diaper takes a bit of practice. Here are some additional tips and tricks to ensure your baby stays comfortable and dry.
Leg Gussets: Ensure the leg gussets of both the fitted diaper and the cover are snug around your baby’s thighs to prevent leaks.
Waistband: The waistband should be snug but not too tight. You should be able to comfortably fit two fingers between the waistband and your baby’s tummy.
No Gaps: Check for any gaps around the legs or waist where moisture could escape. Adjust the diaper or cover as needed to create a secure seal.
Avoid Overstuffing: If you’re using additional inserts or boosters for extra absorbency, avoid overstuffing the diaper, as this can lead to leaks and discomfort.
Change Frequently: Change your baby’s diaper regularly, ideally every two to three hours or as soon as it’s soiled or wet.
Choosing the Right Fitted Diaper: Factors to Consider
When selecting fitted diapers, consider these factors to find the best fit for your baby’s needs and your preferences.
- Size: Choose the right size based on your baby’s weight and age. Diapers that are too small can be restrictive and uncomfortable, while those that are too big can lead to leaks.
- Material: Opt for soft and absorbent materials like cotton, bamboo, or hemp. Consider your baby’s skin sensitivity and choose hypoallergenic options if needed.
- Absorbency: Select a diaper with adequate absorbency to prevent leaks, especially for nighttime use or heavy wetters. You can also add boosters or inserts for extra absorbency.
- Closure Type: Snaps or Velcro closures are common options. Choose a closure type that’s easy for you to use and secure.
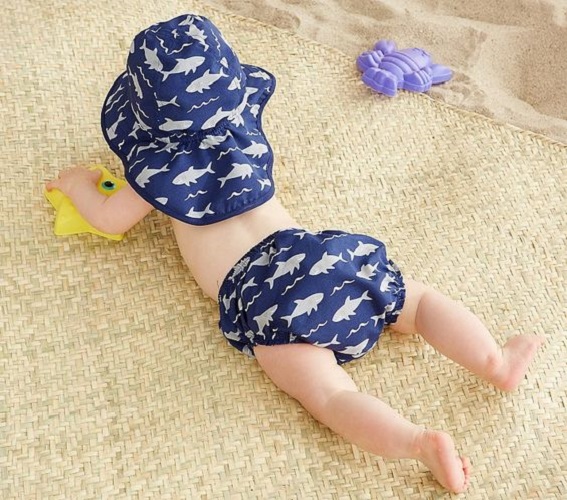
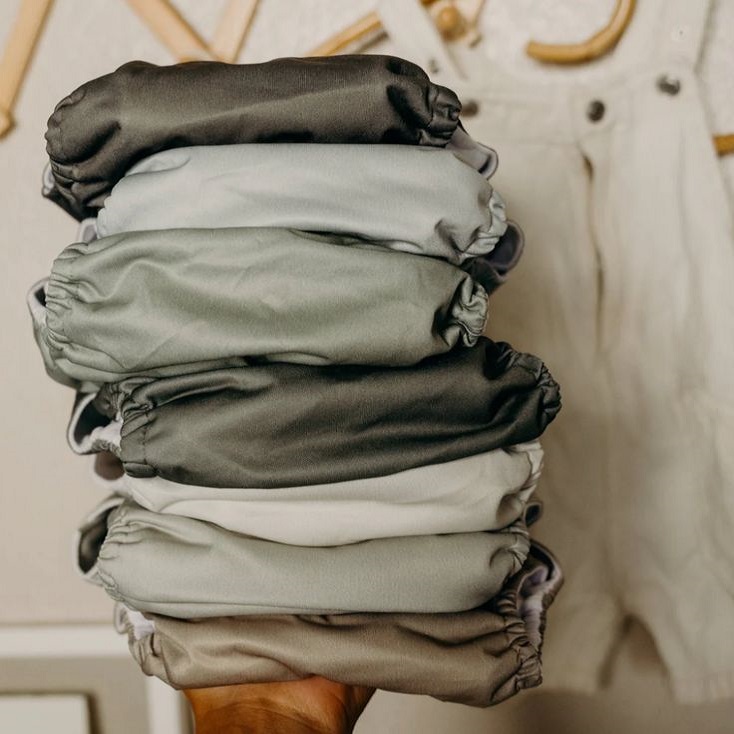
- Style and Design: Fitted diapers come in a variety of colors and patterns. Choose ones that appeal to you and your baby’s sense of style.
Putting on a fitted diaper might seem a bit tricky at first, but with practice and the right guidance, it becomes a simple and seamless part of your cloth diapering routine. By understanding the diaper’s design, following the step-by-step instructions, and ensuring a snug and comfortable fit, you can keep your baby dry, happy, and protected.
Remember, every baby is unique, so don’t be afraid to experiment with different brands, sizes, and materials until you find the diaper that meets your little one’s needs and your parenting preferences.
Troubleshooting: Tackling Common Challenges
Even with practice, you might encounter a few bumps in the road when using fitted diapers. Let’s address some common challenges and offer solutions to ensure a smooth and leak-free experience.
Leaks: Leaks can be frustrating, but they’re often easily remedied.
- Check the Fit: Ensure the diaper and cover fit snugly around the waist and legs without gaps. Adjust the rise snaps or leg elastics as needed.
- Consider Absorbency: If leaks persist, you might need to add an extra booster or insert for increased absorbency, especially for heavy wetters or overnight use.
- Check the Cover: Ensure the waterproof cover is fully covering the fitted diaper, with no exposed edges that could allow for wicking.
Gaps and Wing Droop: Wing droop, where the sides of the diaper sag or create gaps, can also lead to leaks.
- Proper Fastening: Ensure the snaps or Velcro are securely fastened and the wings are pulled snugly against your baby’s body.
- Adjust the Rise: If the rise (the distance between the legs and the waistband) is too high, it can cause wing droop. Adjust the rise snaps to achieve a better fit.
Bulkiness: Fitted diapers, especially when paired with a cover, can be bulkier than disposable diapers.
- Choose the Right Size: Ensure the diaper is the right size for your baby. A diaper that’s too big can create excess bulk.
- Trim Inserts: If you’re using inserts, consider trimming them slightly to reduce bulk, especially around the legs.
- Embrace the Fluff: Remember that a bit of extra fluff is a sign of a well-padded and comfortable diaper for your little one.
Laundry Day: Keeping Your Fitted Diapers Fresh
Washing cloth diapers, including fitted diapers, requires specific care to maintain their absorbency and hygiene.
Pre-Wash (Optional)
If your diapers are heavily soiled, you can pre-rinse them in the toilet or under running water before washing. A diaper sprayer attached to your toilet can be a helpful tool for this step.
Washing Machine
Wash the diapers in a hot water cycle (at least 140°F/60°C) with a cloth-diaper-safe detergent. Add an extra rinse cycle to ensure all soap residue is removed.
Drying
Ideally, line dry your diapers in direct sunlight, which has natural disinfecting properties. If using a dryer, tumble dry on low heat.
Washing Tips:
-
Avoid Overloading: Don’t overload the washing machine. Overcrowding can prevent proper cleaning and rinsing.
-
No Fabric Softeners or Bleach: Avoid using fabric softeners or bleach, as these can damage the diaper fibers and reduce their absorbency.
-
Address Stains Promptly: Treat any stains immediately to prevent them from setting in.
Conclusion
Putting on a fitted diaper might seem a bit daunting at first, but with practice and the right guidance, it becomes a simple and seamless part of your cloth diapering routine. By understanding the diaper’s design, following the step-by-step instructions, and ensuring a snug and comfortable fit, you can keep your baby dry, happy, and protected.
Remember, every baby is unique, so don’t be afraid to experiment with different brands, sizes, and materials until you find the perfect fitted diaper that meets your little one’s needs and your parenting preferences.